How to improve clicking aim?
What is clicking aim?
Everyone who has touched a computer mouse knows what a click means - the action of pressing the buttons of your mouse with the fingers of your hand. It is a basic action we perform while working on a computer or while playing games. Nonetheless, for competitive FPS games you need not only to be able to click, but to actually click quickly and accurately on the right spots, at the right time.
The combination of all these variables is what makes clicking aim tricky and requires practice to develop your muscle memory and hand-eye coordination. It is especially important for enemy encounters in games like 1v1.lol online!
How to train clicking aim?
In clicking you have four subskills: verified, point, efficiency and reactive.
Here there is no subskill you should try first in particular. Every subskill in clicking is no longer divided into several types of levels. Instead the levels represent the actual subskill itself.
In the clicking subskill a couple of new mechanics are introduced that you need to pay attention to when playing certain training levels:
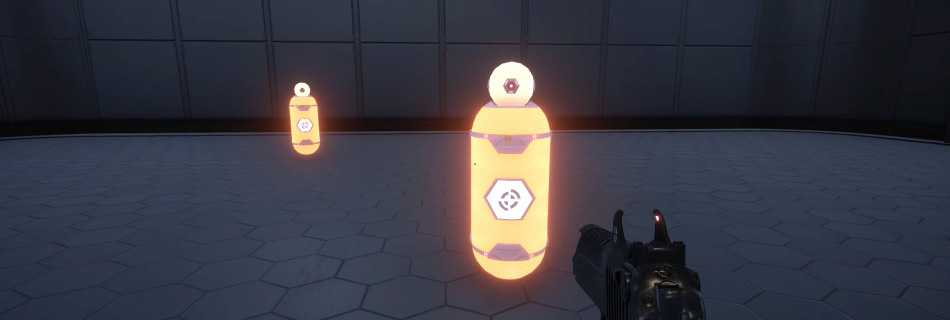
- Take away the shields first:
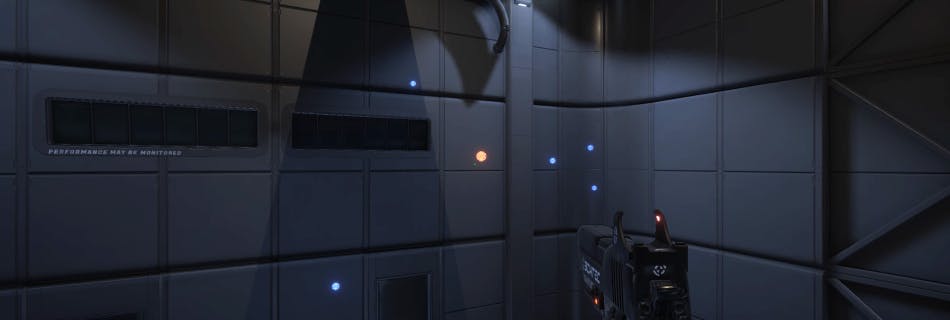
You will notice in most of the Basic Verified clicking levels that the targets have a blue forcefield around them. This shield will dissipate after aiming at the target for 0.1 seconds and effectively stops you from flicking fast from one to the next. This is perfect to practice verifying a target fast and efficiently.
- Toggling ADS on/off:

There are some clicking levels where targets are only vulnerable when in or out ADS. The title of these levels will all have ADS in it, so it’s easy to recognize the ones for which you need to apply this concept. These levels are great tools for you to train target prioritization and optimal pathing.
Verified Clicking
Noticeable Verified Clicking levels
Verified clicking teaches you the art of checking, in a fraction of a second, whether you are indeed aiming correctly. Just like in accuracy flicking the name of the game is target verification. Except, you aren’t always put in a situation where flicking is the answer.
1. Verified Basic Level 1

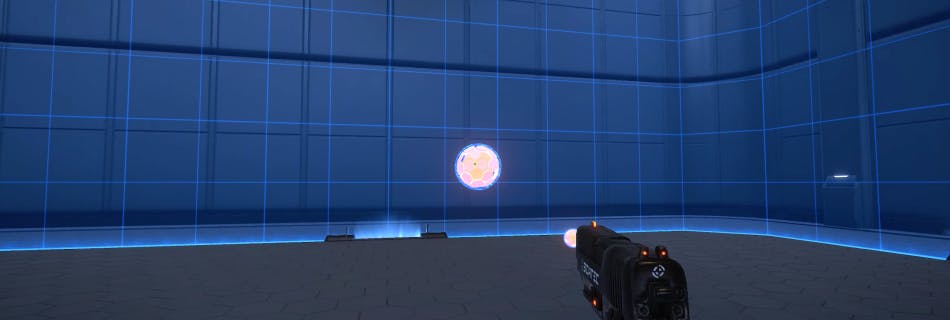
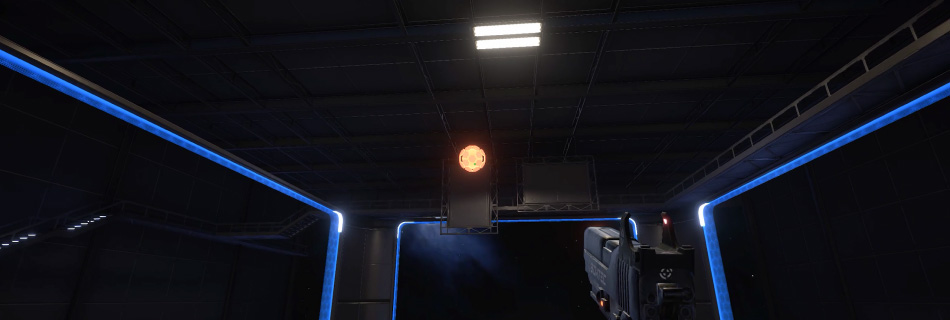
6T Shell – Bounce – Box 180 is the most basic efficiency clicking level, but it encompasses everything you need to practice. First of all, all the spheres will have a shield that dissipates after aiming at it for 0.1 seconds. Secondly, they move in predictable patterns that are challenging enough to track and thus it’s perfect to practice target verification. More difficult versions of this level will not have the shield as they are sort of training wheels. Once you start hitting intermediate efficiency clicking, you should already know to verify first.
2. Verified Basic Level 5
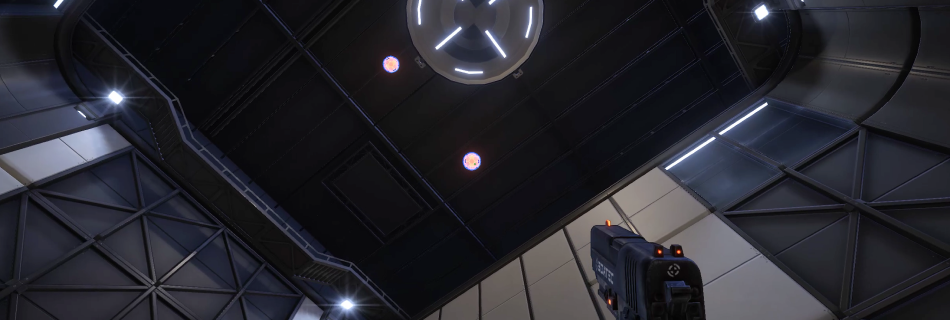
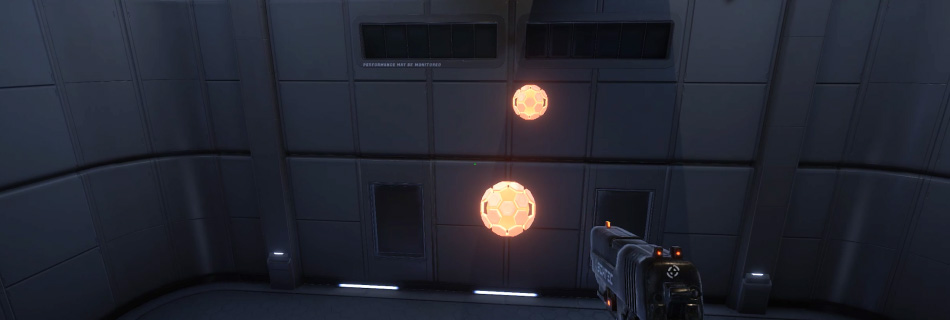
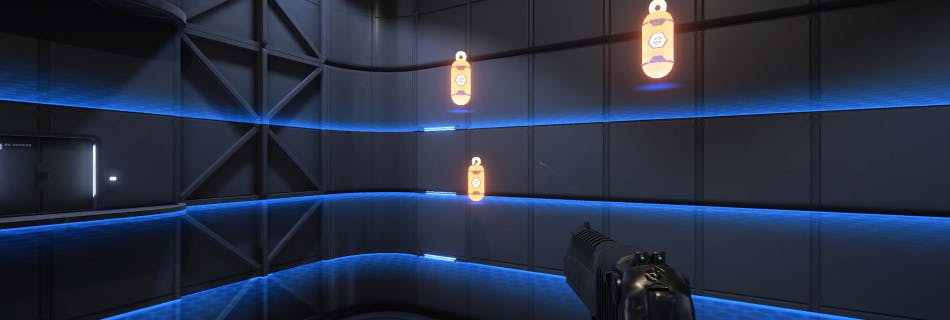
5T Shell - .2G – Cylinder 360 is just like the level featured above - a bread and butter efficiency clicking level. The big difference here is that targets will spawn from the ceiling, which will force you to rotate a lot more when aiming. More difficult versions of this level will require you to learn how to compromise when missing certain targets. Going for targets that are already close by will result in missing more targets down the line.
3. Verified Intermediate Level 6
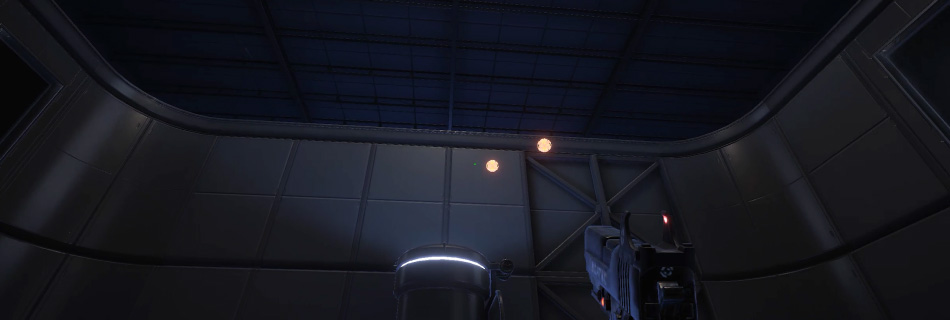
7 Head – Long D. – Circle 180 is a level that focuses on headshots. All the targets are moving with medium velocity and dodging or swinging (long distances). This means their movement is predictable. However, since the targets are very small this will force you to verify your crosshair first, because the scoring has accuracy correction.
4. Verified Advanced Level 2
15T Small ADS – Freefly Long D – Sphere 360 is an efficiency level that combines the most important elements of verification. Smaller targets move erratically whilst switching ADS on and off is necessary to shoot them all. Because of their size and movement, the verification has to be fast but present. Not for the faint of heart.
Point Clicking
Noticeable Point Clicking levels:
Point clicking is the art of going fast. So the scoring is much more about the amount of kills you can get. For this reason the targets are often bigger and move faster as well. Just like speed flicking, you can rely more on your intuition and thus muscle memory.
1. Point Basic Level 1
4T – Long D. – Box 180 is the most basic point clicking level. Here you can immediately see what the subskill is all about. Targets are moving slightly faster and are slightly bigger. The movement will make sure that you have limited amount of time to verify the position of your mouse click and their size makes it less necessary to do so. Going on intuition here is the key to success and the way you should be practicing.
2. Point Basic Level 2

3T – Freefly – C. Wall Small is a level where all the targets spawn from a center circle towards all directions. The best way to play this level is by making sure you have to move your crosshair as little as possible, but the only way to do that is by going really fast. Focus on intuition and muscle memory.
3. Point Intermediate Level 6
6T – Jet Long D. – Sphere 360 is a level where the targets move horizontally and vertically with good amount of speed. Again, this movement will make verification very difficult and thus you’ll have to do that as little as possible or lose a lot of time. Just like with most point clicking levels the scoring is kill based. So let your intuition take over as there are no direct drawbacks to missing shots.
Clicking Efficiency
Noticeable Clicking Efficiency Levels
Efficiency is about optimal pathing. This means you are training yourself in target prioritization. Here you will find some levels that offer you targets that can be killed in a variety of ways, but your score will depend also on the amount of damage you do. This will make you a more efficient gunman in your main FPS. Things to pay attention to when training efficiency clicking:
- Choose your target wisely:
In efficiency clicking it’s important to understand that the levels are designed to help you improve two things - path finding and optimal damage dealing. Path finding means choosing the best targets after each action while optimal damage dealing is the skill that teaches you when to go for a headshot and when not to.
1. Efficiency Intermediate Level 2
2T Varied – Mixed Vert. Pulse – Cylinder 180 is a perfect level to train your efficiency when it comes to choosing targets. Because of the spread and movement of the targets you will be forced to prioritize certain targets over others. Finding the optimal path for your crosshair will net you the best scores and this is also how you should train in this level.
2. Efficiency Intermediate Level 7
2 Bot – Mix D. – Circle 360 Mix is a level where you can kill the targets with a variety of shots. You either combine headshots, body shots or both. Depending on how much you already hit a particular target you should feel more or less incentive to be efficient with your next bullet. Just like in a real game, if the target is low you should perhaps go for the easier body shot instead of risking a miss on the head.
Reactive Clicking
Reactive clicking is all about reflexes and thus reaction time. Most of the levels revolve around you shooting a target which makes it move to another position. The big difference with point clicking is that you don’t know where the targets will move and thus your correction speed plays a much more important role. One thing to pay attention to when training reactive clicking:
- Correction speed matters:
In reactive clicking it’s good to understand that correction speed and reaction speed are NOT exactly the same. This subskill will improve your ability to shoot (click) and react afterwards. As every player will miss shots it’s handy to learn how to quickly correct and react to what the enemy is doing.
Noticeable Reactive Levels
1. Reactive Intermediate Level 1

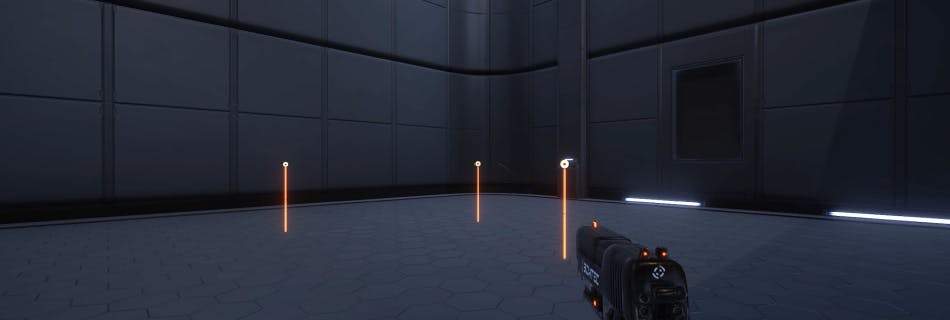
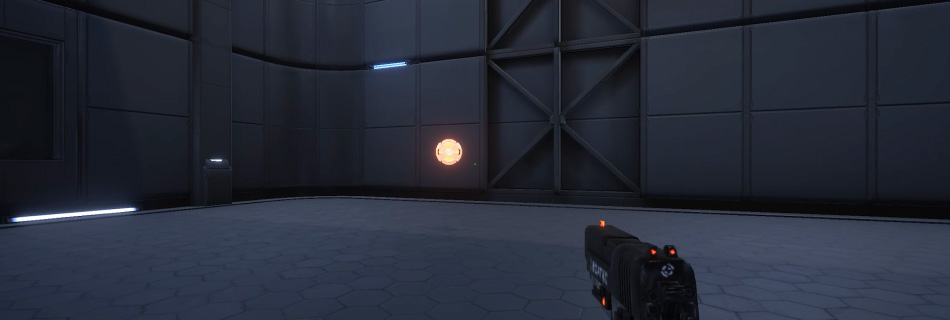
3T – Glide – Wall is a perfect introduction to reactive clicking. You’ll see 3 stationary targets that will move to another position when first shot and disappear on the second. Focus on verification and limit under- and overshooting. Your correction speed comes first, then your re-verification.
2. Reactive Advanced Level 1
1T Inv – Jet Long D. Glide – Cylinder 360 is an advanced level and will require going over the intermediate levels first. Here a fast moving target (horizontal and vertical) will again reposition itself after being shot. The target however will never disappear and instead always keep repositioning. Because it’s an advanced level, the assumption is that you are already proficient in verifying targets. Correction speed is primary here although the scoring also includes accuracy correction.
In what games do you need good clicking aim the most?
Clicking is good for games with multiple enemies with low time-to-kill, like CS2, CSGO, Valorant, COD or EFT. Those are the games that require you to have intuitive muscle memory to execute correct aim movement with as low correction time as possible.
If you want a deeper look with specific training tips on each particular game that we mention here, go check our dedicated Aim Trainer guides:
How to get better aim in Valorant


